

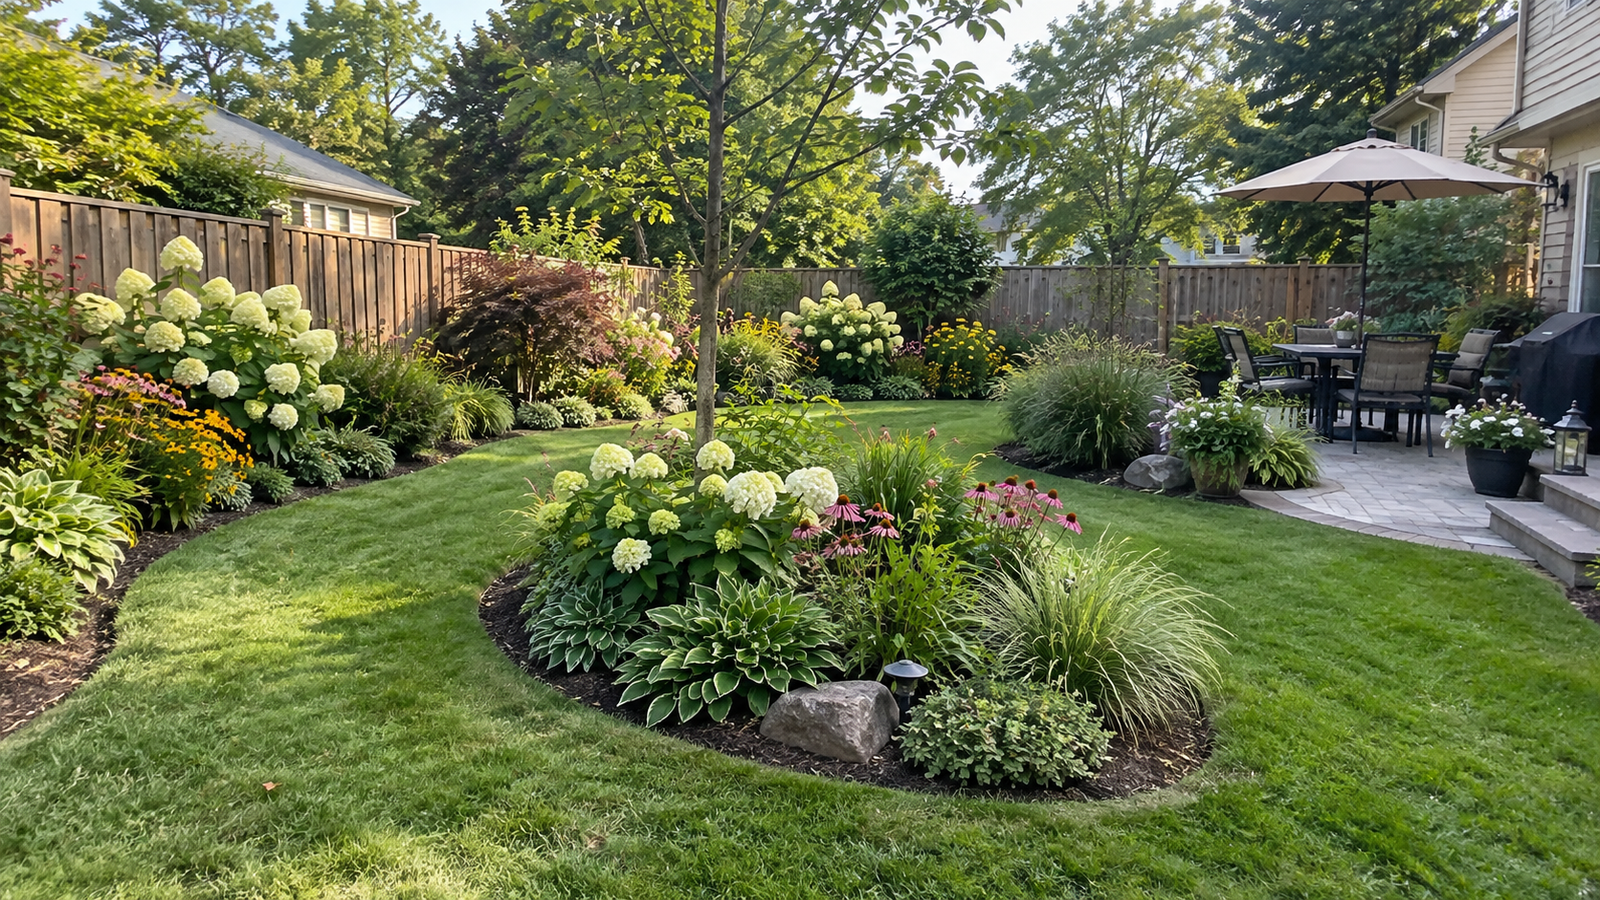
The best backyard plant bed ideas preserve usable space while adding structure and color. Border beds frame lawns, island beds create focal points, fence beds offer screening, curved beds soften straight edges, and raised beds organize growing areas. Choose according to yard size, sunlight, drainage, mature plant spread, and maintenance access.
This guide compares 21 layouts and explains how to draw a workable plan, estimate plant quantities and mulch, select appropriate planting, and avoid problems after installation. Dimensions are illustrative; adapt them to your yard and the plants available locally.
Which Backyard Plant Bed Ideas Work Best?
Choose a layout before buying plants. Borders keep lawns open, islands create focal points, and raised beds define growing areas.
| Yard or goal | Suitable bed | Check first |
|---|---|---|
| Small backyard | Perimeter or corner border | Open central space |
| Large lawn | Oval or kidney island | Mowing access on every side |
| Overlooked fence | Layered privacy border | Mature screening height |
| Narrow side yard | Ribbon or pocket beds | Clear walking width |
| Patio | Patio-framing border | Chairs, doors, reflected heat |
| Vegetables and herbs | Parallel raised beds | Comfortable reach and paths |
| Sloping ground | Contour-following border | Runoff and erosion |
Which Border Beds Work Best?
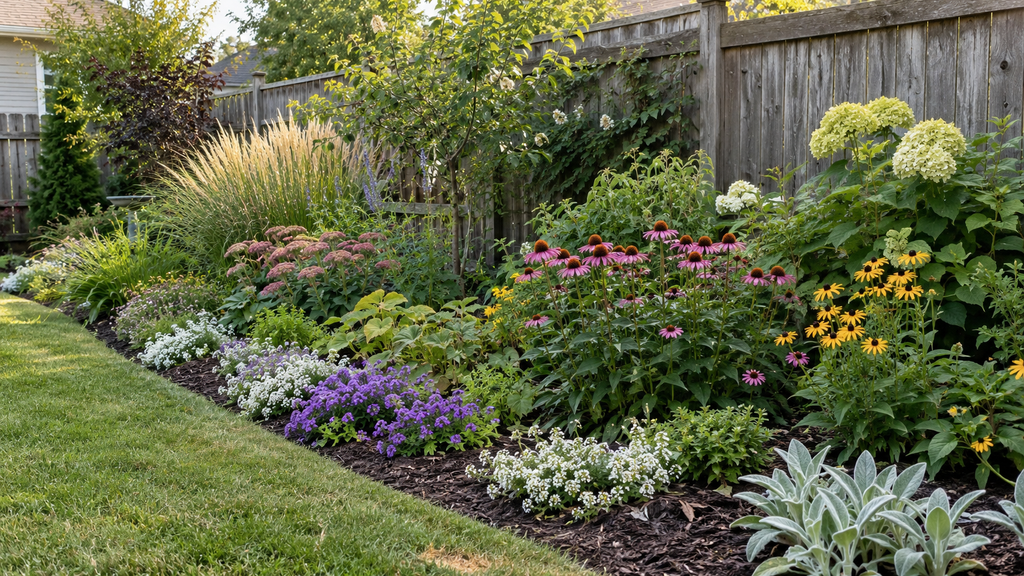
Border beds follow existing edges, so they suit many backyards without dividing usable lawn. Plan their depth around the mature spread of plants and whether you can reach the back from another side.
1. Layered Three-Depth Border
Create front, middle, and rear planting zones: low perennials near the lawn, medium groups behind them, and structural shrubs or grasses farther back. Allow these groups to overlap naturally rather than forming three rigid rows. A four-to-six-foot depth can work for compact selections, but large shrubs need more space.
Best for: Long fences and lawn edges where one side provides the main view.
2. Patio-Framing Border
Use planting on one or two patio sides to soften hard paving without enclosing the entire seating area. Keep compact foliage near seating and larger shrubs away from doors and chairs. Check for dry soil beneath roof overhangs and extra heat beside walls. Leave clear access to grills, sockets, taps, and storage.
Best for: Patios, decks, and outdoor dining spaces.
3. Deep Mixed Border
Combine structural shrubs, flowering perennials, ornamental grasses, bulbs, and groundcovers in repeated groups. Plant large elements first, then arrange smaller groups around their expected spread. Include discreet stepping stones where access from the lawn is insufficient; avoid walking on cultivated soil.
Best for: Medium and large yards with room for layered planting.
4. Evergreen-and-Perennial Border
Use appropriately sized evergreen shrubs as a lasting framework, adding deciduous perennials or seasonal bulbs between them. The evergreen structure keeps the bed legible when flowering plants disappear or die back. Choose varieties suitable for your climate, and resist planting permanent shrubs too close together for immediate fullness.
Best for: Boundaries that need structure beyond their main flowering season.
Which Island Beds Work Best?
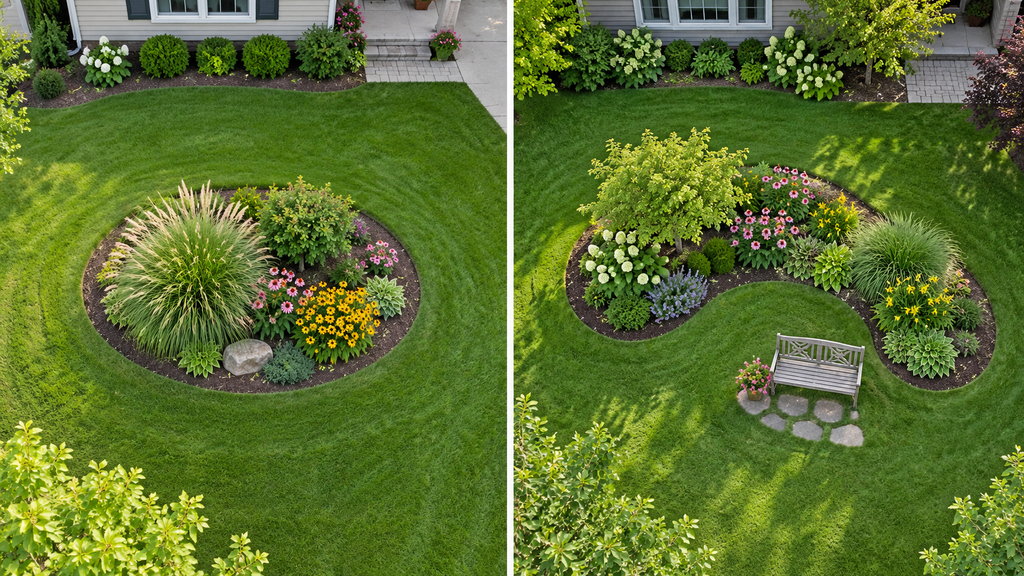
Island beds are surrounded by lawn or paths and seen from multiple directions. Keep the most substantial planting toward the interior, and examine the design from windows, seating areas, and walking routes.
5. Oval Island Bed
An oval creates a calm focal point in an otherwise open lawn. Place a compact ornamental grass or shrub slightly off-center, with lower repeated planting toward the edges. Avoid a perfect ring of unrelated plants; use two or three connected groups instead. Maintain enough lawn around the entire outline to mow or walk comfortably.
Best for: Open lawns needing one simple central feature.
6. Kidney-Shaped Island Bed
Shape a broad outward curve and a gentler inward curve facing a bench, path, or gathering space. Locate larger groups in the widest section; use low planting where the shape narrows. Mark it with rope first, because many small bends can look fussy and become awkward to mow.
Best for: Relaxed gardens with an established seating or walking route.
7. Off-Center Specimen Island
Build the bed around one noticeable plant or feature, such as a compact tree, distinctive shrub, sculptural grass, or garden ornament. Position it away from the geometric center and balance it with restrained supporting planting. Check how its future shade will affect surrounding flowers.
Best for: Large open areas where a single focal point can stand out.
Which Fence Beds Work Best?
Fence beds introduce privacy or vertical interest while leaving lawn space available. Keep planting sufficiently clear of panels and posts for air movement, pruning, and repairs.
8. Layered Privacy Fence Bed
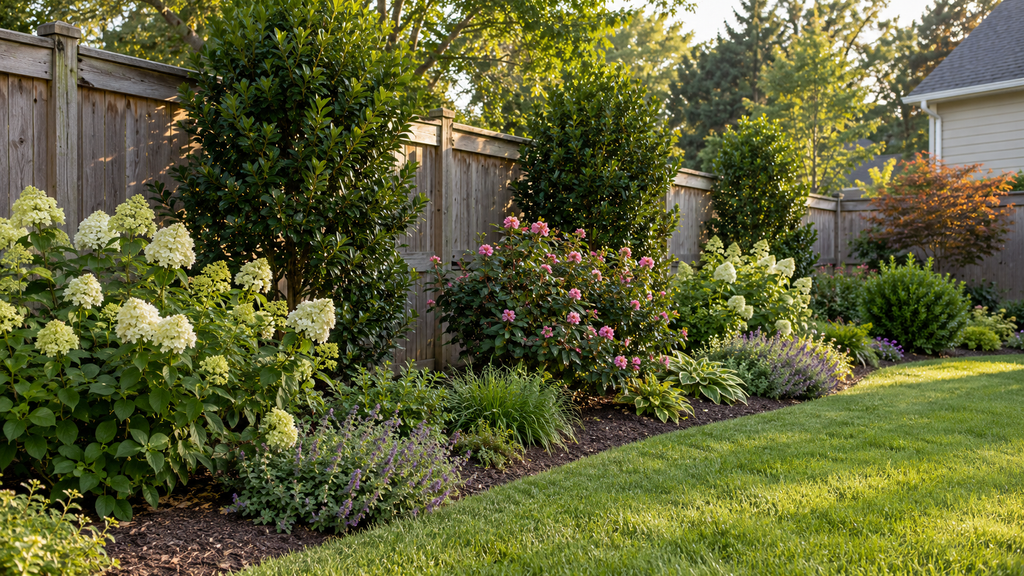
Arrange taller screening shrubs behind smaller shrubs and lower flowers, staggering groups rather than creating a solid crowded hedge. Decide which sightline needs screening from a seated or standing position; that determines useful plant height. Leave room to maintain both plants and fence.
Best for: Exposed boundaries and neighboring views.
9. Repeating Pollinator Strip
Repeat compatible groups of locally appropriate flowering perennials along a sunny boundary. Mix flowering periods so some plants offer nectar or pollen during different parts of the growing season. Verify local suitability and avoid invasive species; a plant advertised as pollinator-friendly elsewhere may not suit your region.
Best for: Sunny fence lines and wildlife-conscious planting.
10. Trellis-and-Low Border
Pair a relatively shallow ground bed with a separate, properly anchored trellis. A climbing plant provides height while compact flowers or foliage fill the lower level. Choose a support that handles mature weight and wind; leave room for training and pruning.
Best for: Narrow boundaries needing height without broad shrubs.
Which Curved Beds Work Best?
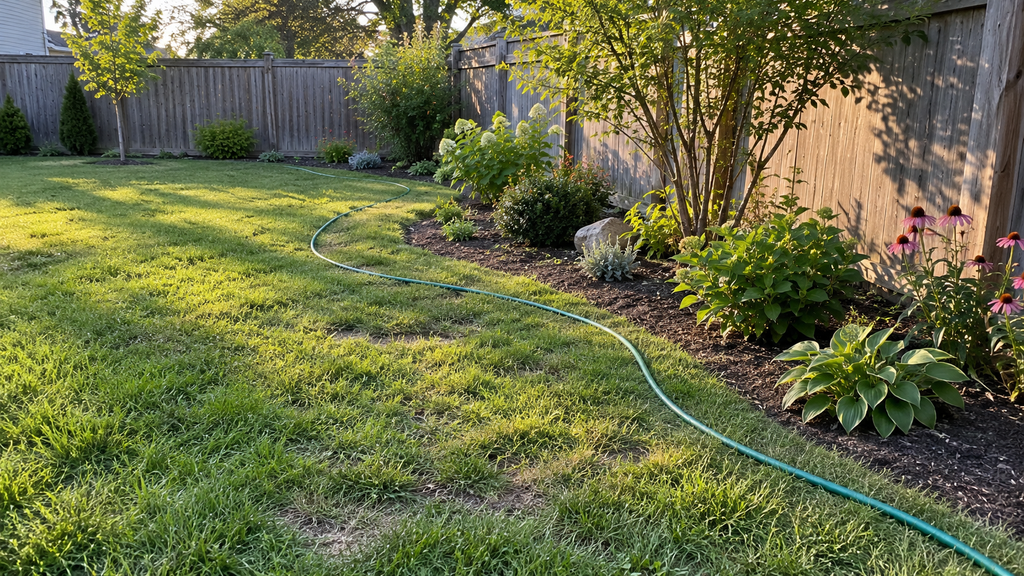
Broad curves soften rectangular lawns and create changing planting depth. Their edges should be easy to maintain and intentional when viewed from the house.
11. Single Sweeping Curve
Extend one part of a straight border into the lawn, then bring it gently back toward the boundary. Put a shrub or generous perennial group at the deepest point and lower planting toward the tapering ends. Test the curve with a hose and inspect it from several viewpoints before removing turf.
Best for: Long, straight lawn edges needing a softer outline.
12. Curved Corner Bed
Round an overlooked backyard corner into a planted arc. Place taller vegetation deeper in the corner and step down toward the lawn, keeping the center usable for seating or play. Measure access to drains, utilities, and fence faces.
Best for: Small or medium yards with unused corners.
13. Lawn-Reduction Curve
Expand an existing border into grass that receives little use. Retain enough lawn for the activities that matter in your household. Avoid leaving thin isolated strips of turf between a new bed and a path; such fragments increase maintenance.
Best for: Yards with excess lawn and undersized planting areas.
Which Raised Beds Work Best?
Raised beds define planting and may improve reach. Accessibility also depends on paths, approach space, and working posture.
14. Twin Parallel Raised Beds
Place two rectangular beds with an uninterrupted path between them. Beds roughly three to four feet wide are a practical starting point when both sides are reachable. A path around three feet wide may accommodate many wheelbarrows, but test your equipment and access needs.
Best for: Organized vegetable, herb, or cutting gardens.
15. U-Shaped Raised Bed
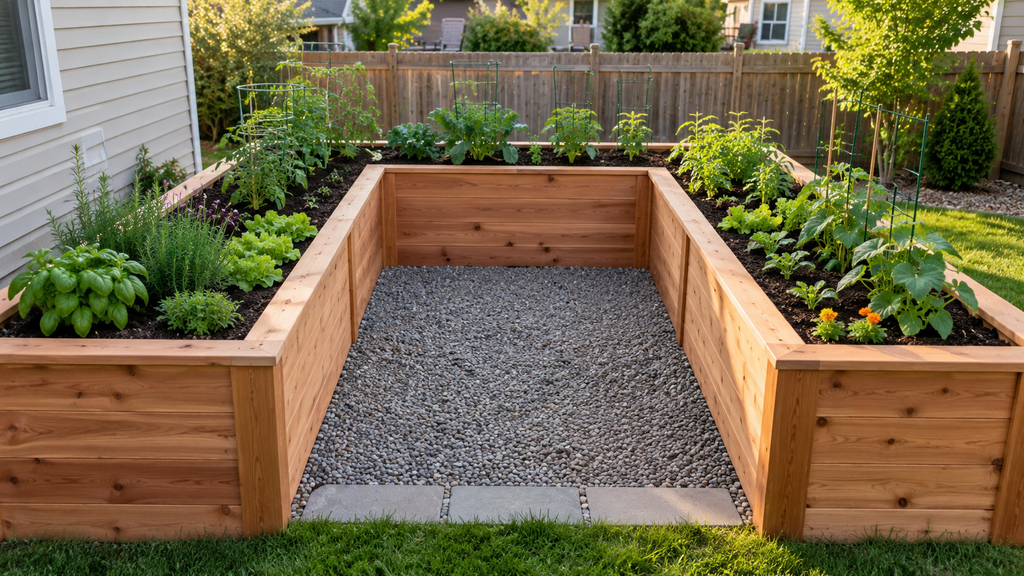
Connect three narrow planting sections around an open central working area. Ensure the entrance and internal turning area match the gardener’s movement and equipment needs. Inside corners can be difficult to reach, so test the outline before construction rather than using maximum bed width everywhere.
Best for: Intensive growing where reachable edges are a priority.
16. L-Shaped Raised Bed
Fit two connected beds around a patio, shed, or fence corner to use space that ordinary rectangular beds might waste. Divide planting according to sunlight and crop height rather than treating both arms identically. Keep the inside corner accessible and avoid directing irrigation runoff toward building foundations.
Best for: Compact corners and multi-purpose backyards.
17. Mixed-Height Raised Beds
Combine lower beds with one or more higher working surfaces to support different gardening tasks. A higher bed may reduce bending but requires strong construction to support moist soil. Check reach, path width, sitting or standing posture, and drainage before selecting the height. Consult a detailed accessible raised garden bed guide when designing for mobility needs.
Best for: Shared gardens with different working preferences.
Which Beds Fit Narrow Yards?
In restricted spaces, measure the walking route after plants reach their full width. A narrow bed should make the passage more useful, not harder to navigate.
18. One-Sided Narrow Raised Bed
Place a narrow raised bed along a suitable wall or fence, keeping its reachable depth around one-and-a-half to two feet as a starting point. Use compact plants and avoid directing drainage toward the foundation. Check whether doors, meters, and service panels remain accessible.
Best for: Side yards and narrow patios.
19. Side-Yard Ribbon Bed
Run one continuous, narrow strip beside a path, repeating a limited number of upright or compact plants. Account for leaves arching into the walkway after rain and for the space needed to carry tools or bins. Choose plants suited to any shade created by neighboring structures.
Best for: Long house-to-fence passages.
20. Staggered Pocket Beds
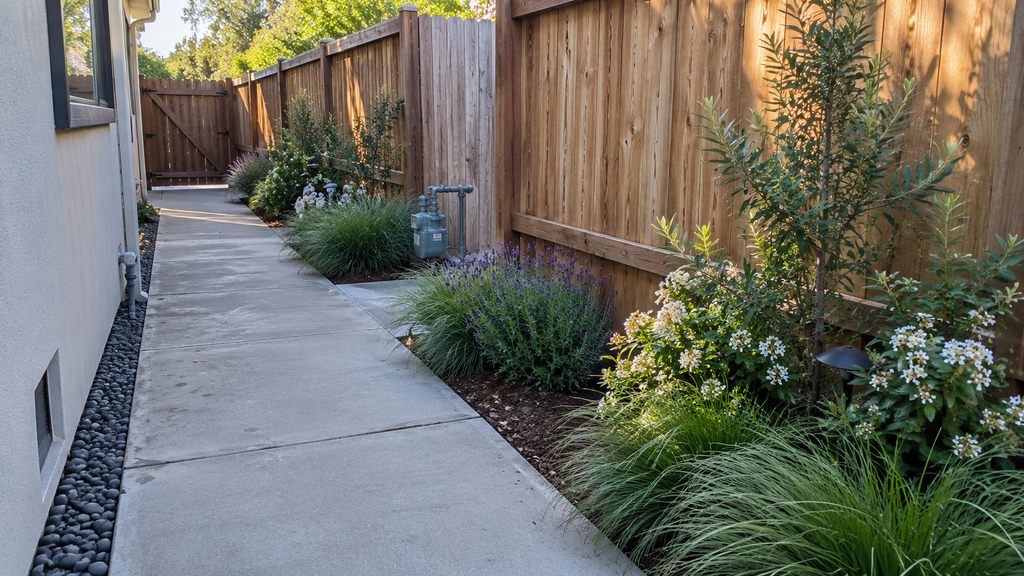
Create several separate planting pockets, leaving purposeful gaps at gates, drains, utility boxes, and maintenance points. Repeat a few compatible plants across pockets so the arrangement still feels connected. Unlike a continuous ribbon, individual pockets can be adjusted without disturbing the entire passage. Set the gaps according to real access needs, not visual symmetry alone.
Best for: Interrupted fence lines and utility-heavy side yards.
21. Stepping-Stone Access Bed
Place stable, appropriately spaced stepping stones through a deep ornamental bed where routine pruning or watering would otherwise require stepping onto soil. Set them securely and check footing when wet. Keep delicate crowns away from frequent stepping points.
Best for: Deep beds where the middle cannot be reached from the edge.
How Do You Plan a Bed?
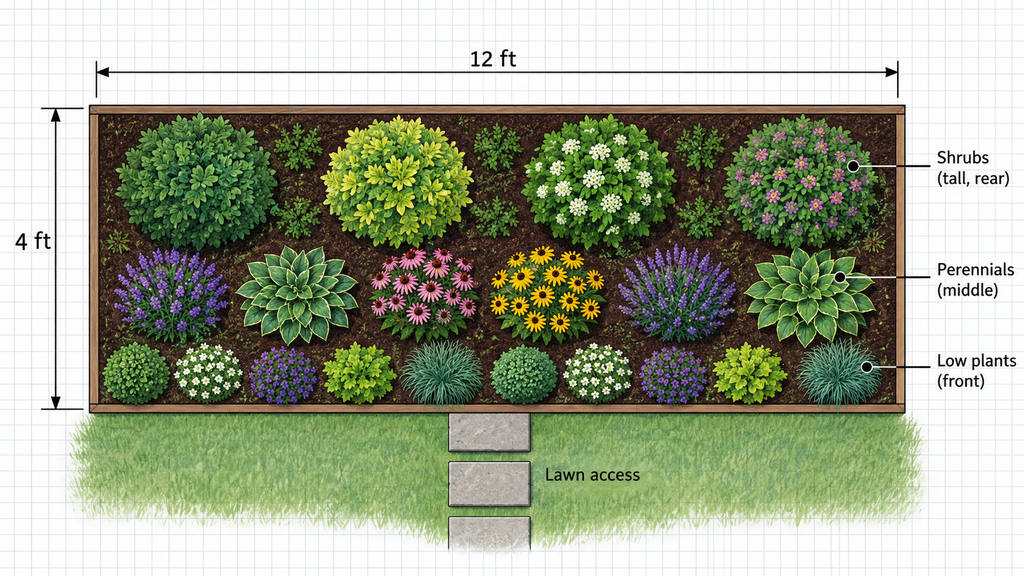
Draw the layout to scale before digging. Start with fixed features, actual growing conditions, and the full width of mature plants.
- Measure the available length and depth, then locate paths, taps, drains, trees, and services.
- Observe sun at different times and look for standing water after rainfall.
- Draw the bed on graph paper, using one square to represent one foot if convenient.
- Add circles showing each major plant’s mature spread, not its nursery-pot size.
- Mark the routes needed for mowing, watering, fence repair, and pruning.
- Transfer the outline outdoors using rope, hose, or temporary stakes.
- Set pots in position and adjust until views and access work from every side.
For example, draw a 12-by-4-foot border as 12 squares long and four squares deep. Add larger plants first and check their circles before filling remaining spaces. For whole-yard organization, see these backyard plant layout ideas.
How Wide Should Beds Be?
Width should reflect mature planting and how far a person can reach without stepping on soil. A narrow ornamental strip may be only one or two feet deep, while a layered border often needs four feet or more to provide real front-to-back variation.
For raised beds accessible from both sides, three to four feet is a conservative starting width. A one-sided bed is often easier at about one-and-a-half to two feet. These are planning guides, not universal accessibility standards; individual reach varies. Paths must also suit wheelbarrows, mobility equipment, and turning space where relevant.
If a bed is deeper than your comfortable reach, provide another side of access or stable stepping points.
How Do You Arrange Plants?
Start with permanent structure, then fill in medium and low groups. In a one-sided border, taller plants usually belong toward the back; in an island, position them nearer the interior.
Repeat compatible plants in groups instead of scattering one of every variety. Choose species according to real sunlight, soil moisture, drainage, and climate. Lavender or salvia may suit sunny, freely draining conditions where hardy; hostas, ferns, or heucheras may suit certain shaded gardens.
For year-round interest, combine persistent foliage with perennials, seasonal bulbs, and grasses where locally appropriate. Flowering dates change by climate. Leave some planned gaps and use suitable mulch instead of permanently overcrowding shrubs to make a new bed look full.
What Fits an 8×4 Island Bed?
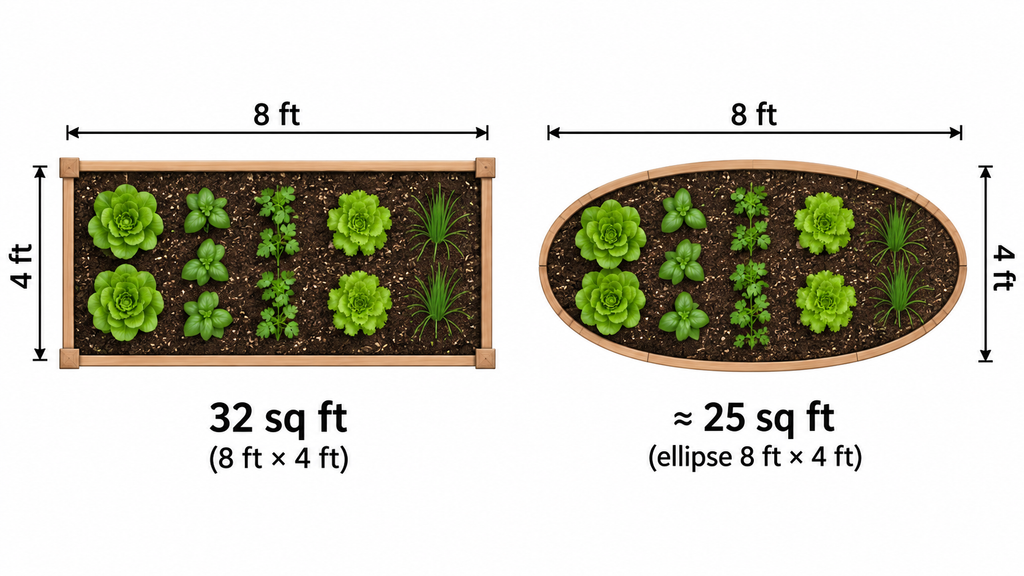
An eight-by-four-foot rectangle covers 32 square feet, while a true ellipse with the same maximum dimensions covers about 25 square feet.
| Shape | Area | Theoretical count at 24-inch spacing |
|---|---|---|
| Rectangle, 8×4 ft | 32 sq ft | 8 plants |
| Ellipse, 8×4 ft | About 25 sq ft | About 6 plants |
These counts use area divided by four square feet per plant. They are rough, single-spacing estimates, not instructions to install that many mixed shrubs.
For an oval, place one modest grass or compact shrub off-center. Draw its expected footprint, then position smaller perennials in the remaining space. Check access around the outer edge and keep large tree roots out of this small example. Iowa State University Extension explains how to estimate plant quantities using plant-specific spacing.
How Much Do Plant Beds Cost?
Costs vary with bed area, soil preparation, plants, edging, irrigation, labor, and local materials. In-ground borders often need fewer purchased construction materials than framed raised beds when the existing soil is suitable.
| Layout | Main cost drivers |
|---|---|
| In-ground border | Plants, preparation, mulch |
| Curved or island bed | Turf removal, edging, planting |
| Fence border | Screening shrubs, optional trellis |
| Raised bed | Frame, fasteners, soil, pathways |
Worked mulch example: A ten-by-four-foot rectangle covers 40 square feet. At a two-inch depth, mulch volume is approximately 40 × 2/12 = 6.7 cubic feet. That is four two-cubic-foot bags before subtracting substantial uncovered areas or allowing for variation.
Use the Iowa State mulch calculation to adapt the estimate. Save money by using simpler outlines, buying smaller healthy plants, and completing the design in phases rather than crowding it immediately.
How Do You Build and Edge Beds?
Mark the final footprint, remove weeds and unwanted turf appropriately, and assess soil before planting. Correct significant drainage or compaction problems instead of covering them with more plants. Avoid digging through important established tree roots or burying the tree’s root flare under new soil.
Choose edging based on the outline and maintenance needs. A neat cut edge suits an informal lawn; flexible metal follows curves; brick and timber favor simpler lines. Paths need secure footing and enough width for actual equipment.
On a gentle slope, follow the contour where practical and watch how rain moves soil and mulch. Major terraces or retaining walls may require professional design. Build in phases: address drainage and paths first, install structural plants next, then add perennials and bulbs. The RHS border-building guide provides further soil-preparation and planting guidance.
How Do You Prevent Problems?
The most frequent design mistakes are overcrowding, inaccessible centers, blocked gates, poor drainage, and complicated mowing edges. Prevention starts by checking mature spread and walking the marked layout before digging.
Choose climate-appropriate plants that will not demand constant pruning. Keep groups with similar moisture needs together, and ensure irrigation reaches the root zone without repeatedly soaking wooden fences. Near pets or children, check plant toxicity, thorn placement, and sharp edging; this dog-friendly backyard planter guide covers related choices.
For low maintenance, favor reachable beds and durable planting over intricate shapes. When water remains pooled, investigate the cause rather than assuming a raised frame automatically fixes drainage.
What Should You Check After 30 Days?
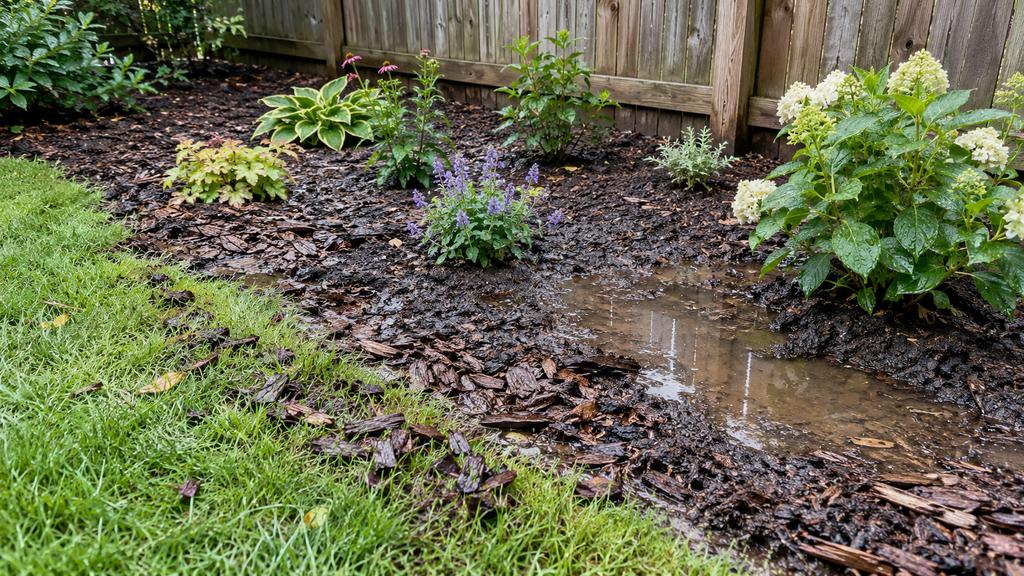
Review a new bed’s establishment, not whether it looks fully mature. Take a photograph on planting day and another from the same viewpoint around Day 30. Record watering, soil movement, access, and plant condition.
| Observation | What to investigate |
|---|---|
| Water remains after rain | Drainage, compaction, incoming runoff |
| Wilting in moist soil | Root stress, excess water, heat |
| Mulch washes onto paths | Slope and runoff control |
| Plants lean repeatedly | Root anchorage and wind exposure |
| Leaves scorch beside paving | Reflected heat and plant suitability |
| Paths or gates are obstructed | Mature placement and clearance |
Adjust mulch containment or support only after identifying the problem. A month can reveal early mistakes, but shrubs and perennials may need much longer to establish fully.
What Are Common Plant Bed Questions?
What Is the Best Bed for a Small Backyard?
A perimeter border or curved corner usually preserves the most usable central space. Choose compact plants and keep gates, paths, and seating clear at mature size.
How Wide Should a Flower Bed Be?
A layered border often benefits from around four feet of depth or more. A one-sided raised bed may be easier to reach at roughly one-and-a-half to two feet wide.
How Do You Arrange Plants in a Bed?
Put larger structural plants in place first, then repeat medium and lower groups. Use mature spread and viewing direction rather than arranging plants by their current pot sizes.
Is a Curved or Straight Bed Better?
Straight beds suit formal edges and narrow spaces. Broad curves soften lawns, but the better choice is the shape that preserves easy mowing and maintenance access.
Are Raised Beds Better Than Ground Beds?
Raised beds offer defined growing areas and can improve reach or soil control. In-ground beds generally require fewer construction materials where native soil and access are suitable.
Can You Plant Against a Fence?
Yes, provided plants have room to mature and the fence stays accessible for repairs. Avoid trapping wet foliage against panels or attaching heavy climbers to weak supports.
How Many Plants Fit in an 8×4 Bed?
A rectangle covers 32 square feet; an ellipse of the same dimensions covers about 25. The quantity depends on mature spacing, bed shape, and any reserved focal plant.
What Is the Cheapest Plant Bed Design?
A straightforward in-ground border is often economical when existing soil is suitable. Use modest healthy plants, simple edges, and mulch rather than expensive framing.
Which Plant Beds Need the Least Maintenance?
Accessible beds planted with climate-suitable shrubs and reliable perennials are often easier to maintain. Avoid crowded plants, intricate edging, and difficult-to-reach centers.
Can Plant Beds Work on a Slope?
Yes, especially on gentle slopes where beds follow the contour. Plan for runoff and erosion; substantial terracing or retaining work may require professional assessment.
Which Plant Bed Should You Choose?
An island adds a focal point, a fence border offers privacy, a curved corner saves open space, and a raised bed creates an organized working area.
These layouts are practical planning examples, not claims of completed field trials. Adapt every measurement to the selected species and local site conditions.

21 Outdoor Succulent Planter Ideas for Patios, Porches and Yards
Outdoor succulent planter ideas include mixed rosette bowls, terracotta groups, concrete troughs, vertical wall displays, and hanging baskets. Choose each design according to sunlight, rain exposure, drainage, and winter conditions. Explore 21 practical options, then use the planting and care...
Backyard Foundation Planting Ideas: 21 Ways to Plant Along Your House
The best backyard foundation planting ideas use compact shrubs, flowering perennials, grasses, and groundcovers to soften exterior walls without obstructing windows, drainage, or access. Choose a layout that fits the available bed depth, then select plants for their mature size,...
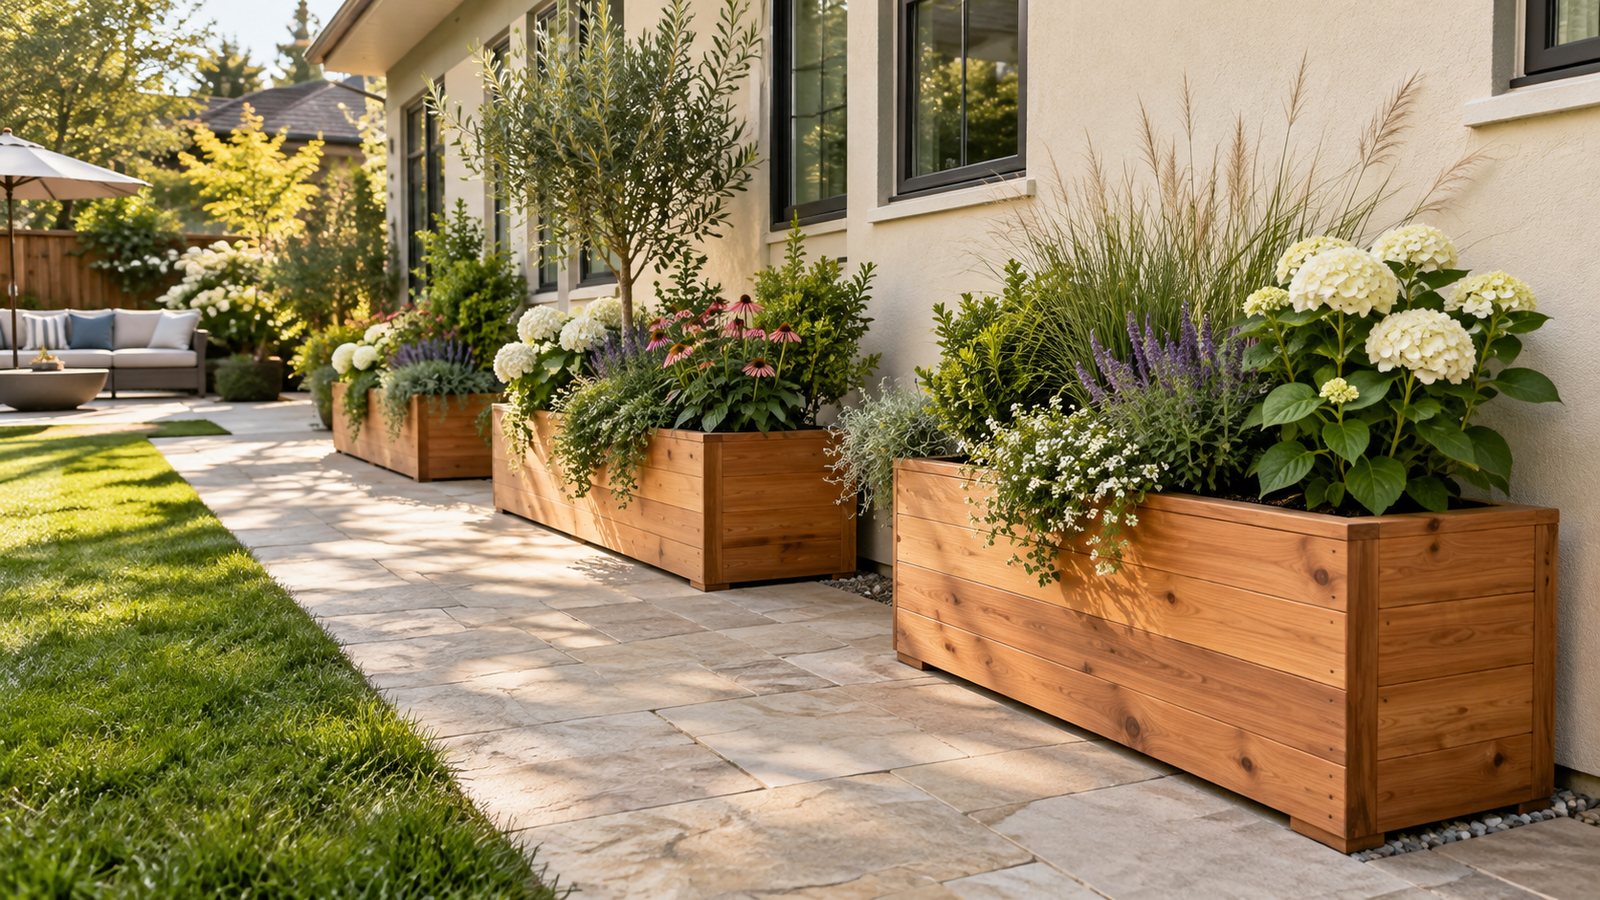
Backyard Planter Box Along House Ideas: 17 Practical Designs
The best backyard planter box along house ideas combine attractive planting with safe, practical placement. Freestanding troughs, cedar boxes, low window planters, and trellis containers can transform a plain wall without blocking access or trapping moisture. Choose a design that...
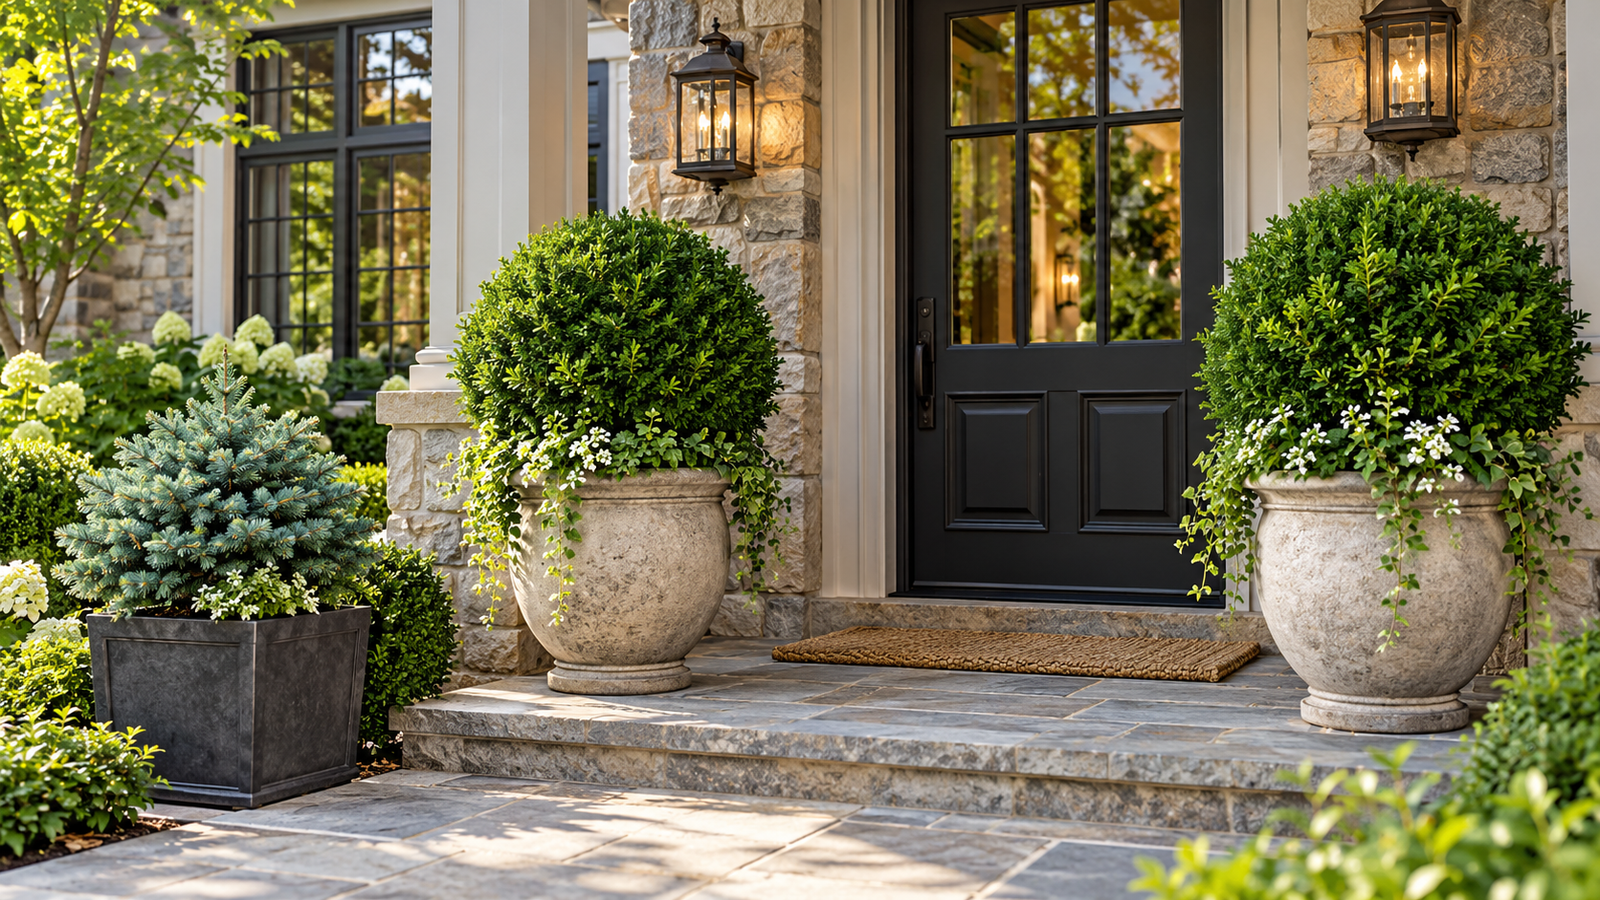
Evergreen Planter Ideas for Beautiful Outdoor Spaces Year-Round
Evergreen planter ideas bring lasting color, shape, and structure to front doors, patios, porches, and balconies. From paired entrance shrubs to low-growing junipers and decorative dwarf conifers, the right arrangement can make an outdoor space feel finished even when seasonal...
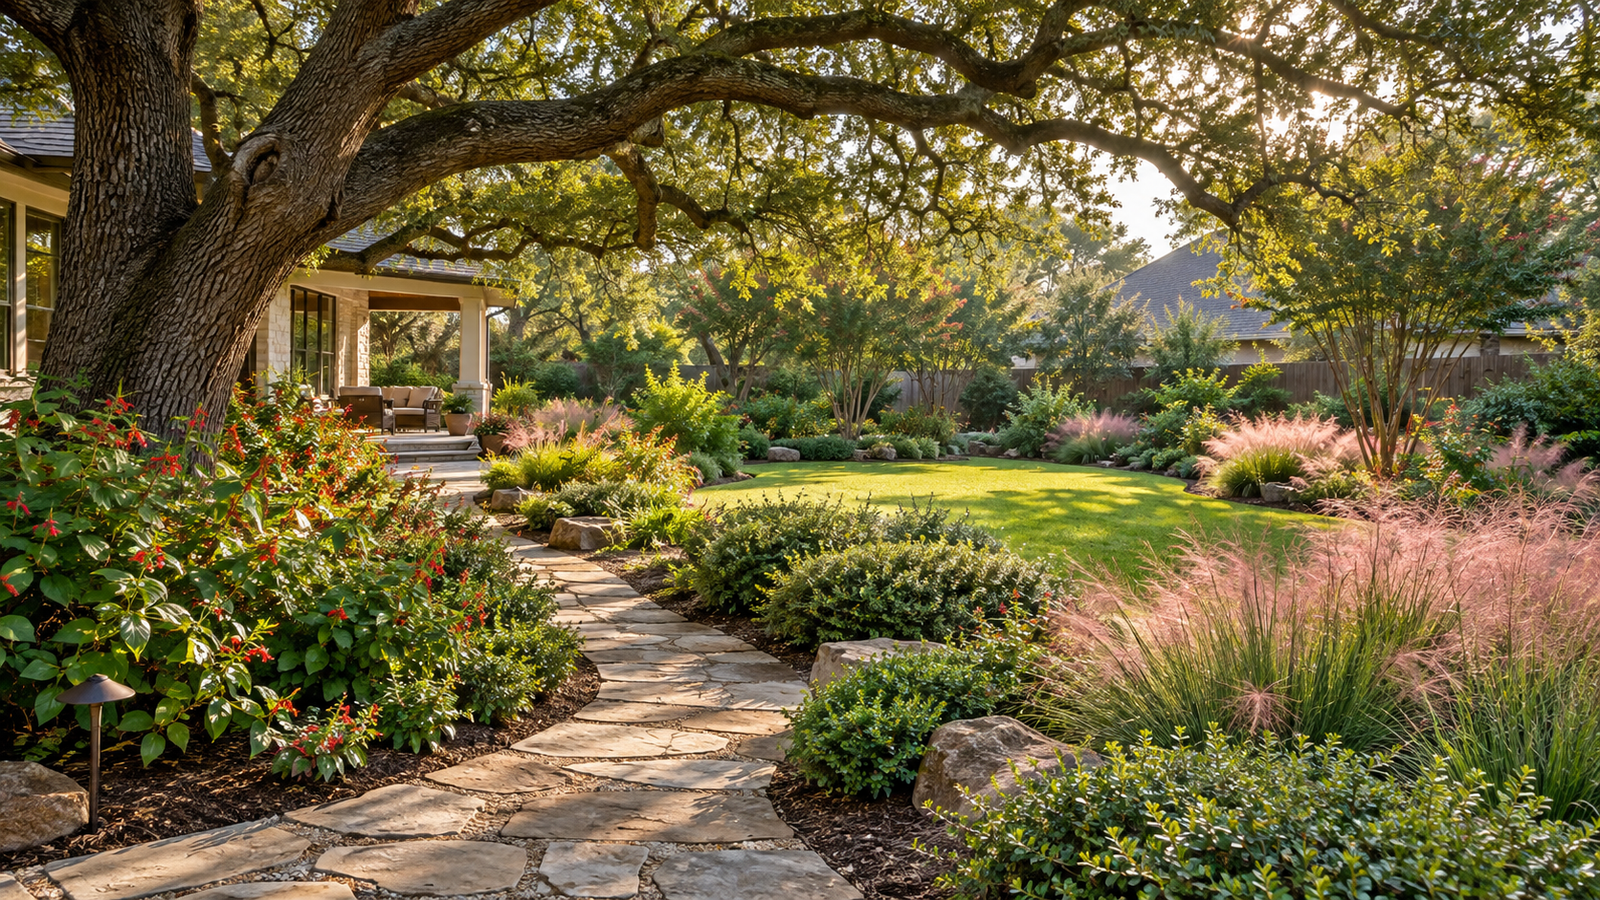
Houston Backyard Plant Ideas for Sun, Shade, Privacy, and More
The best Houston backyard plant ideas combine heat-tolerant flowers, dependable evergreen shrubs, shade-friendly natives, and plants matched to local soil. Yaupon holly provides structure, southern wax myrtle creates privacy, Turk’s cap flowers in partial shade, and Gulf muhly adds texture....
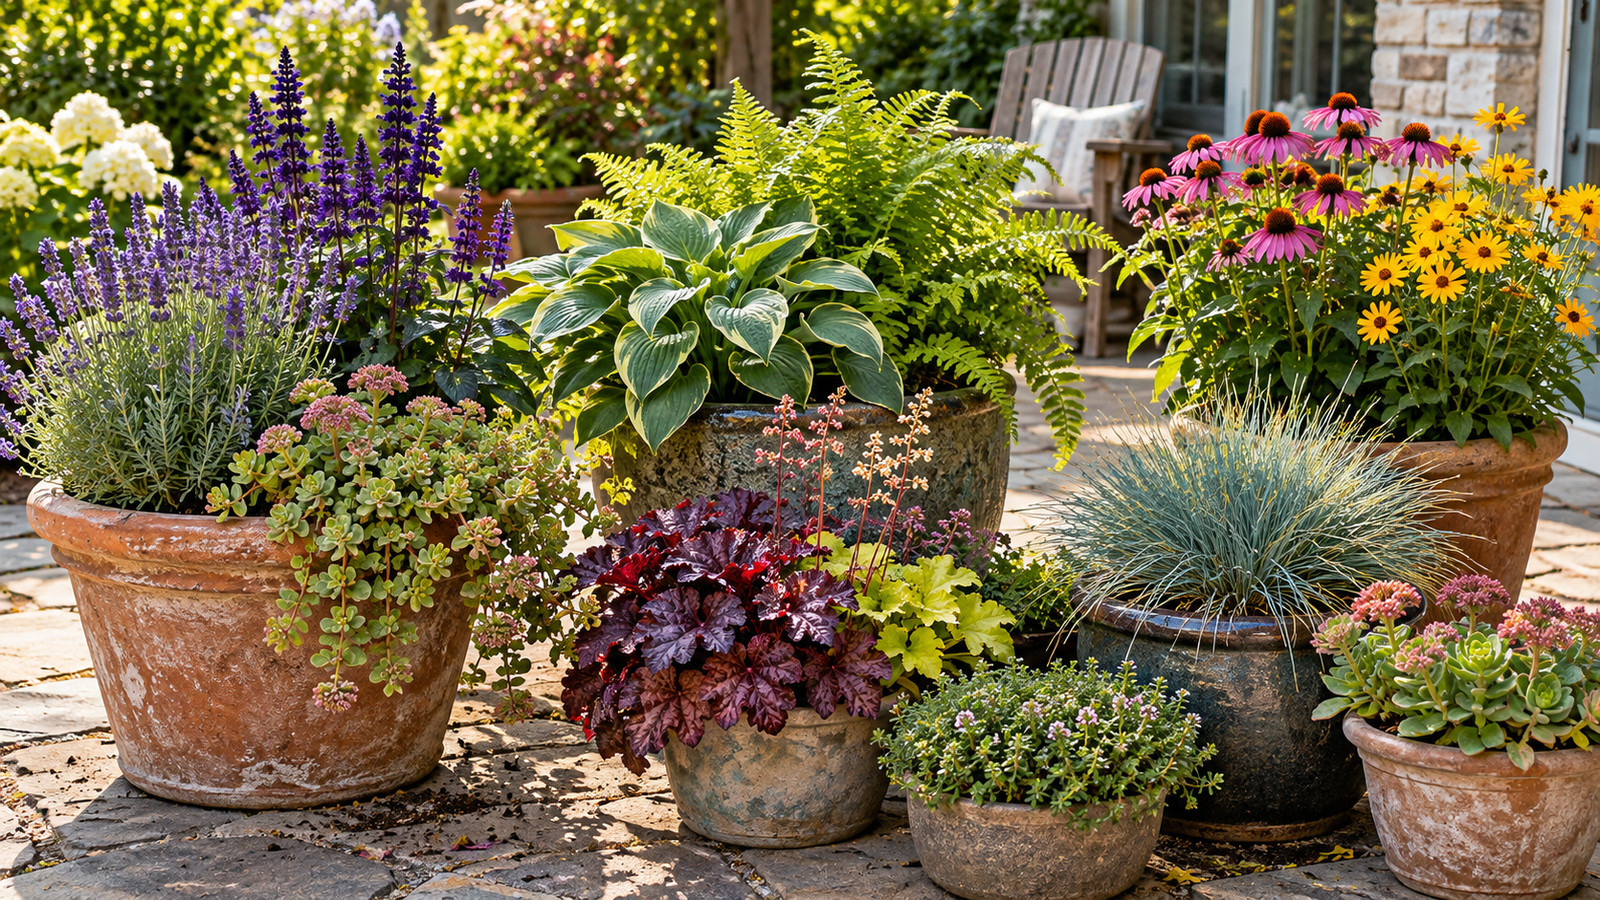
Perennial Planter Ideas
Perennial planter ideas work best when plants share the same sunlight, moisture, drainage, and growing-space requirements. Choose suitable plants and containers, and a display can return for several years with less seasonal replanting.
The secret is planning for mature growth rather...
California Backyard Plant Ideas: 25 Water-Wise Choices
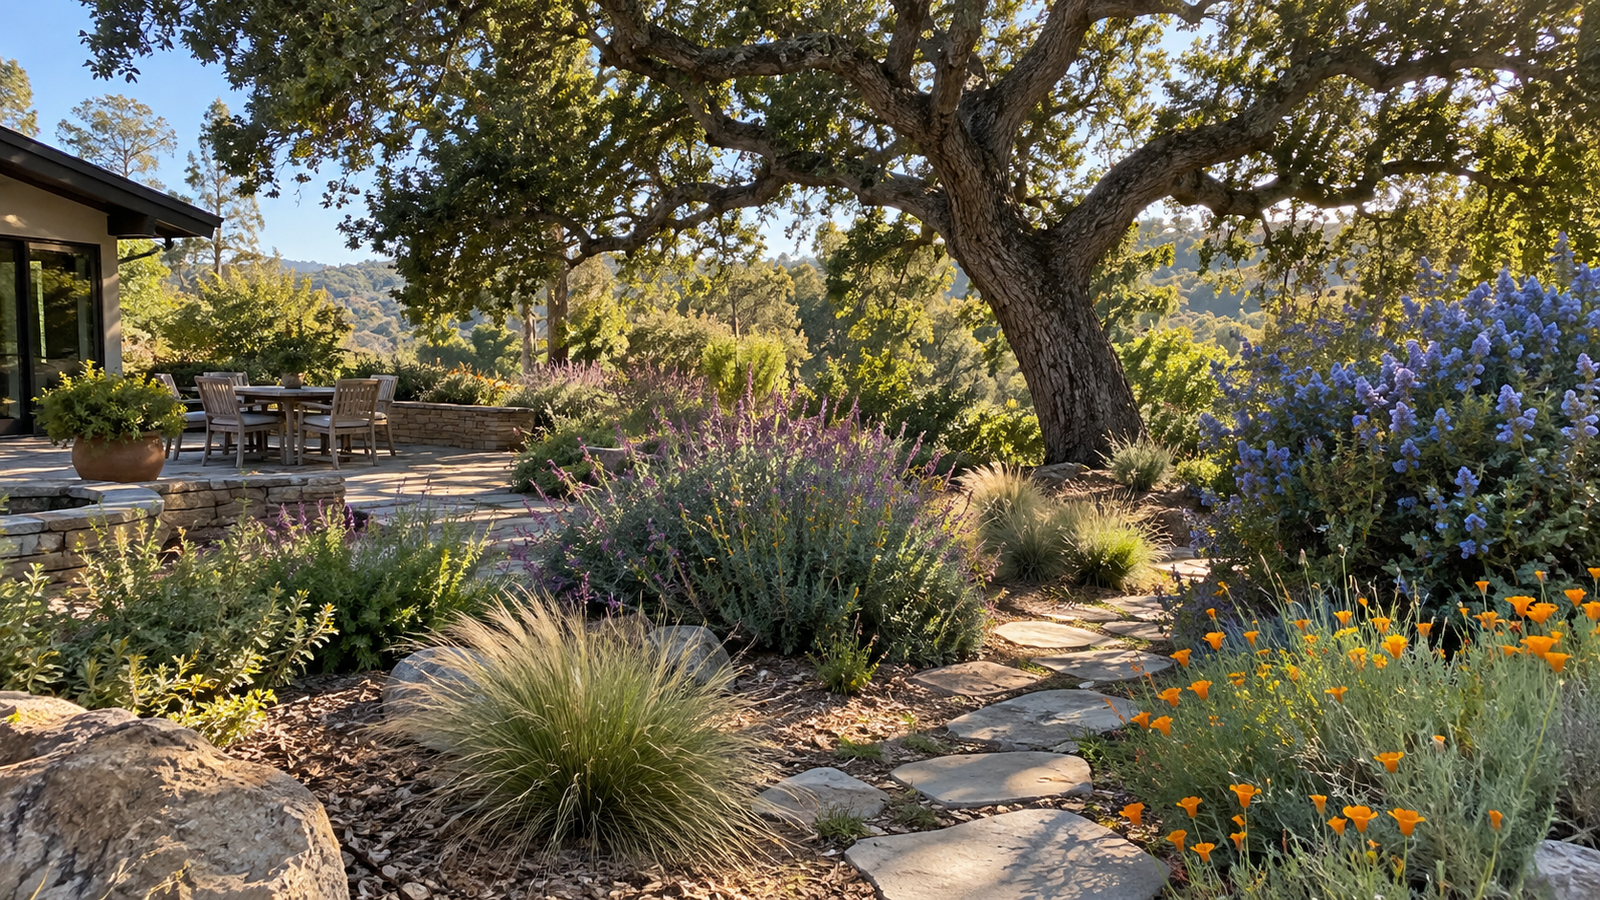
The best California backyard plants suit your local climate, soil, sunlight, and available water. Coast live oak, toyon, ceanothus, California fuchsia, deer grass, and native salvias can create attractive, functional landscapes where conditions match their needs. Group plants by water...
Palm Plant Ideas for Backyards: A Climate-Smart Planning Guide
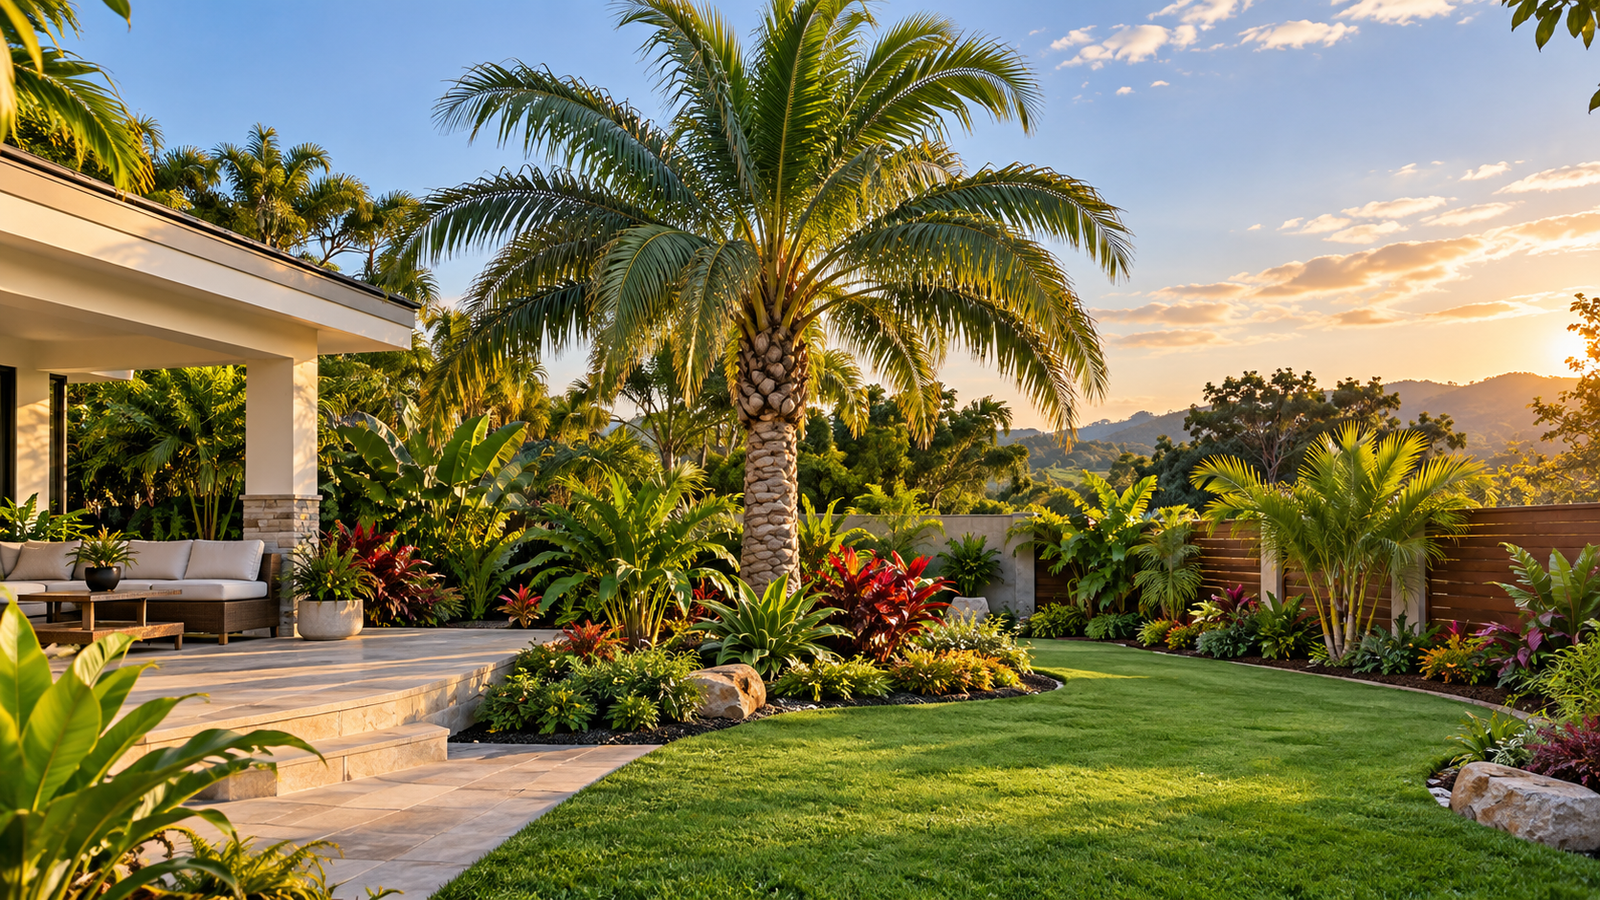
Palm plant ideas for backyards work best when the palm matches your climate, mature space, sunlight, drainage, and landscape goal. Choose compact palms for small yards, clustering palms for privacy, container palms for flexibility, and solitary palms when you want...
Backyard Planting Ideas With Coleus
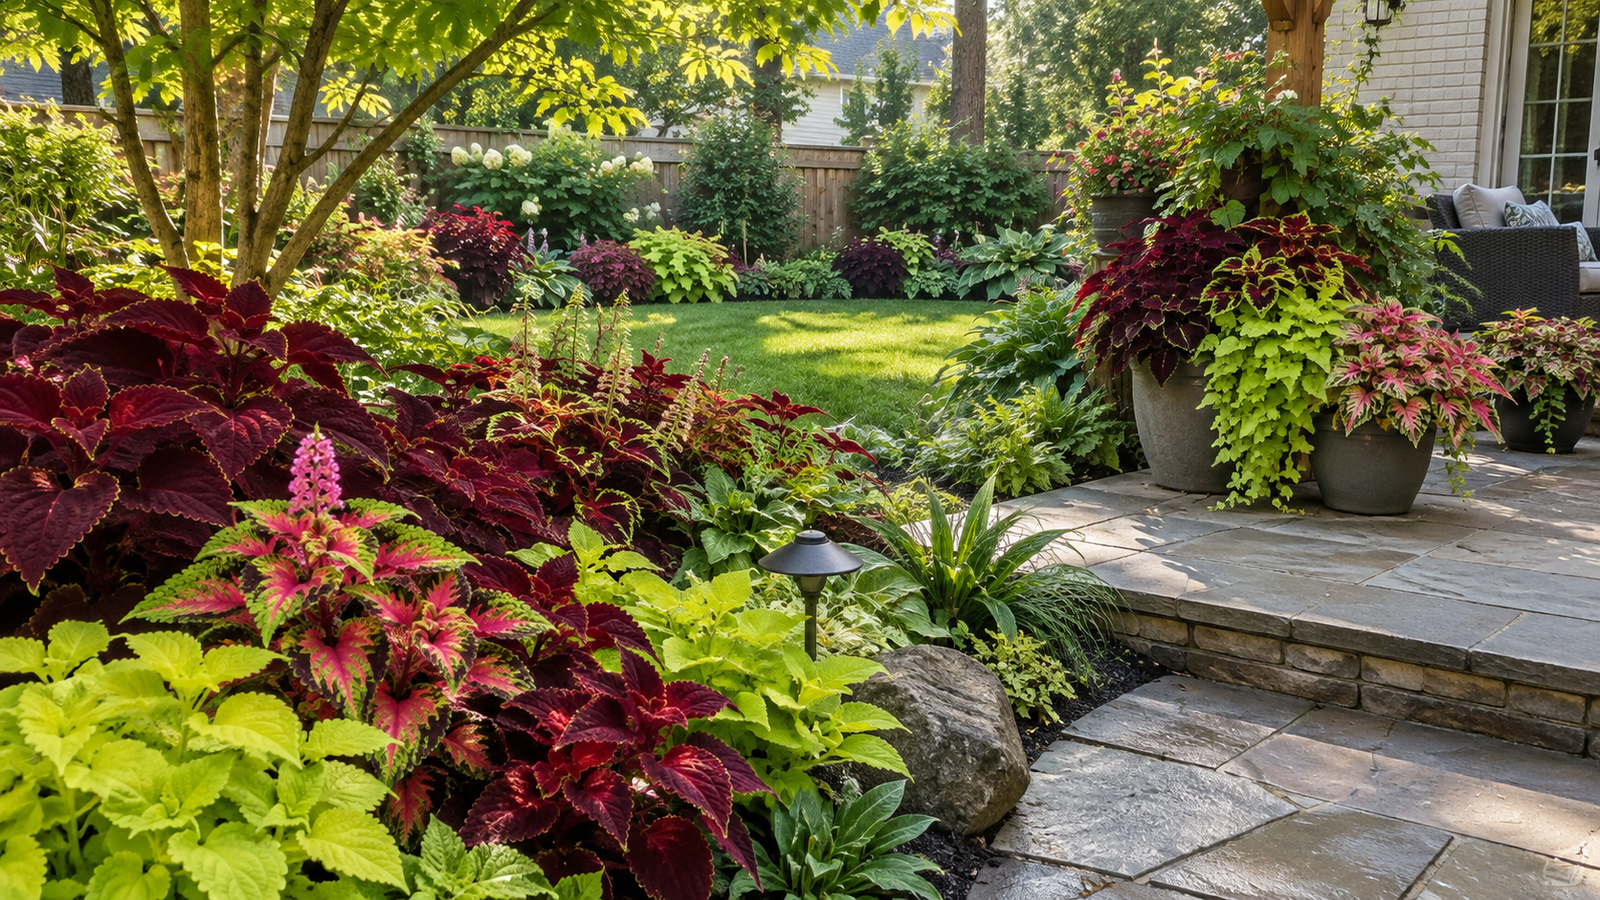
Backyard planting ideas with coleus include layered shade borders, mass plantings, pathway edging, patio pots, tropical foliage beds, under-tree containers, and burgundy or lime focal plants. Match the cultivar's mature size, growth habit, and light tolerance to the site first,...
Cinder Block Planter Ideas
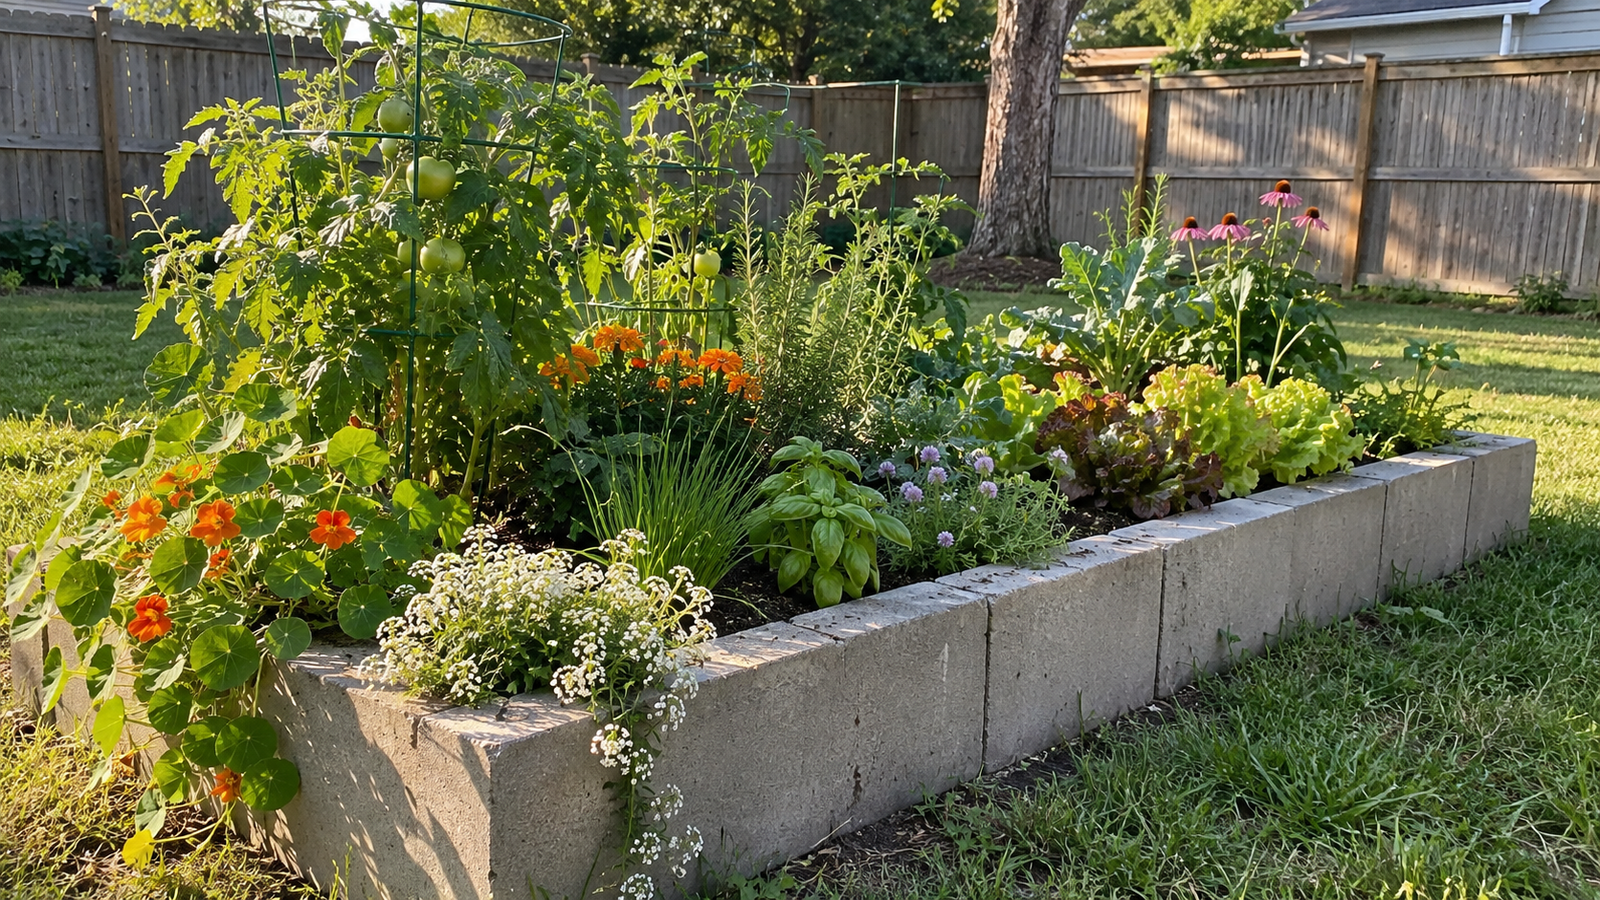
Cinder block planter ideas offer a practical way to grow flowers, herbs, vegetables, succulents, or ornamental plants without complicated construction. Low raised beds, narrow fence planters, stepped corner designs, and compact vertical arrangements work especially well because they balance growing...